Creating New Users
In this article, we'll show you how to add new users to your WorkSignals environment.
This article assumes you've already created an account with WorkSignals
This article assumes you're using the web browser version of WorkSignals. This can also be achieved using the WorkSignals mobile app (Download WorkSignals app here).
Sign in to WorkSignals app
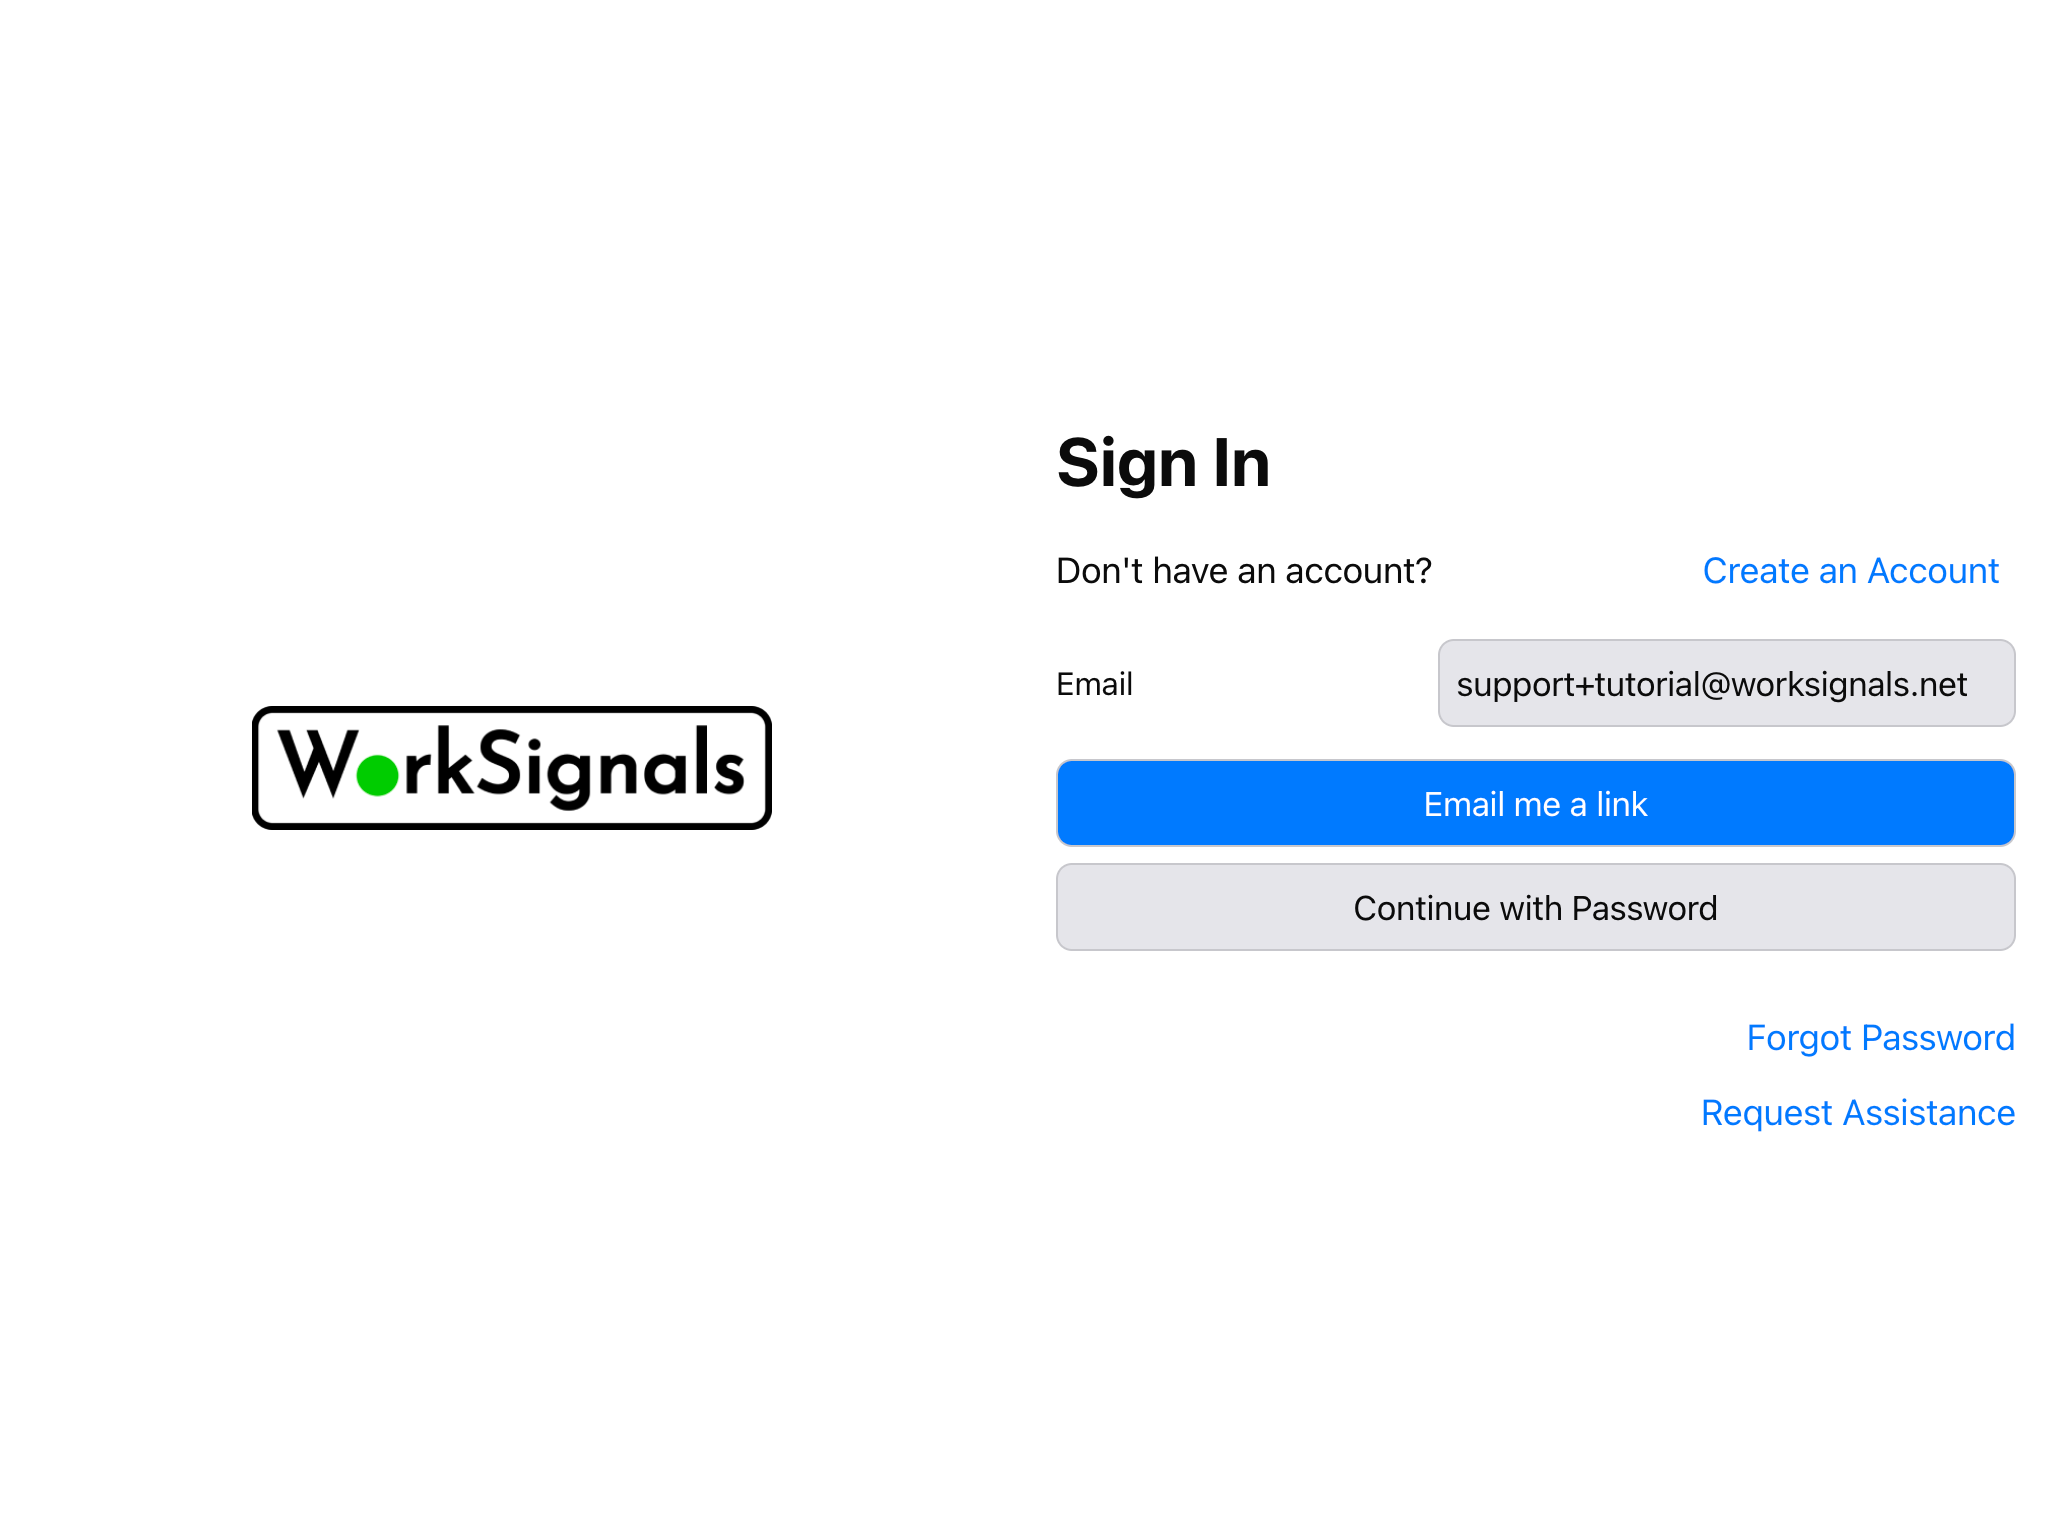
Visit https://app.worksignals.net/signin, and sign in with your email address you used earlier when creating your account. We have a detailed instruction page at Signing in to WorkSignals
Navigate to people
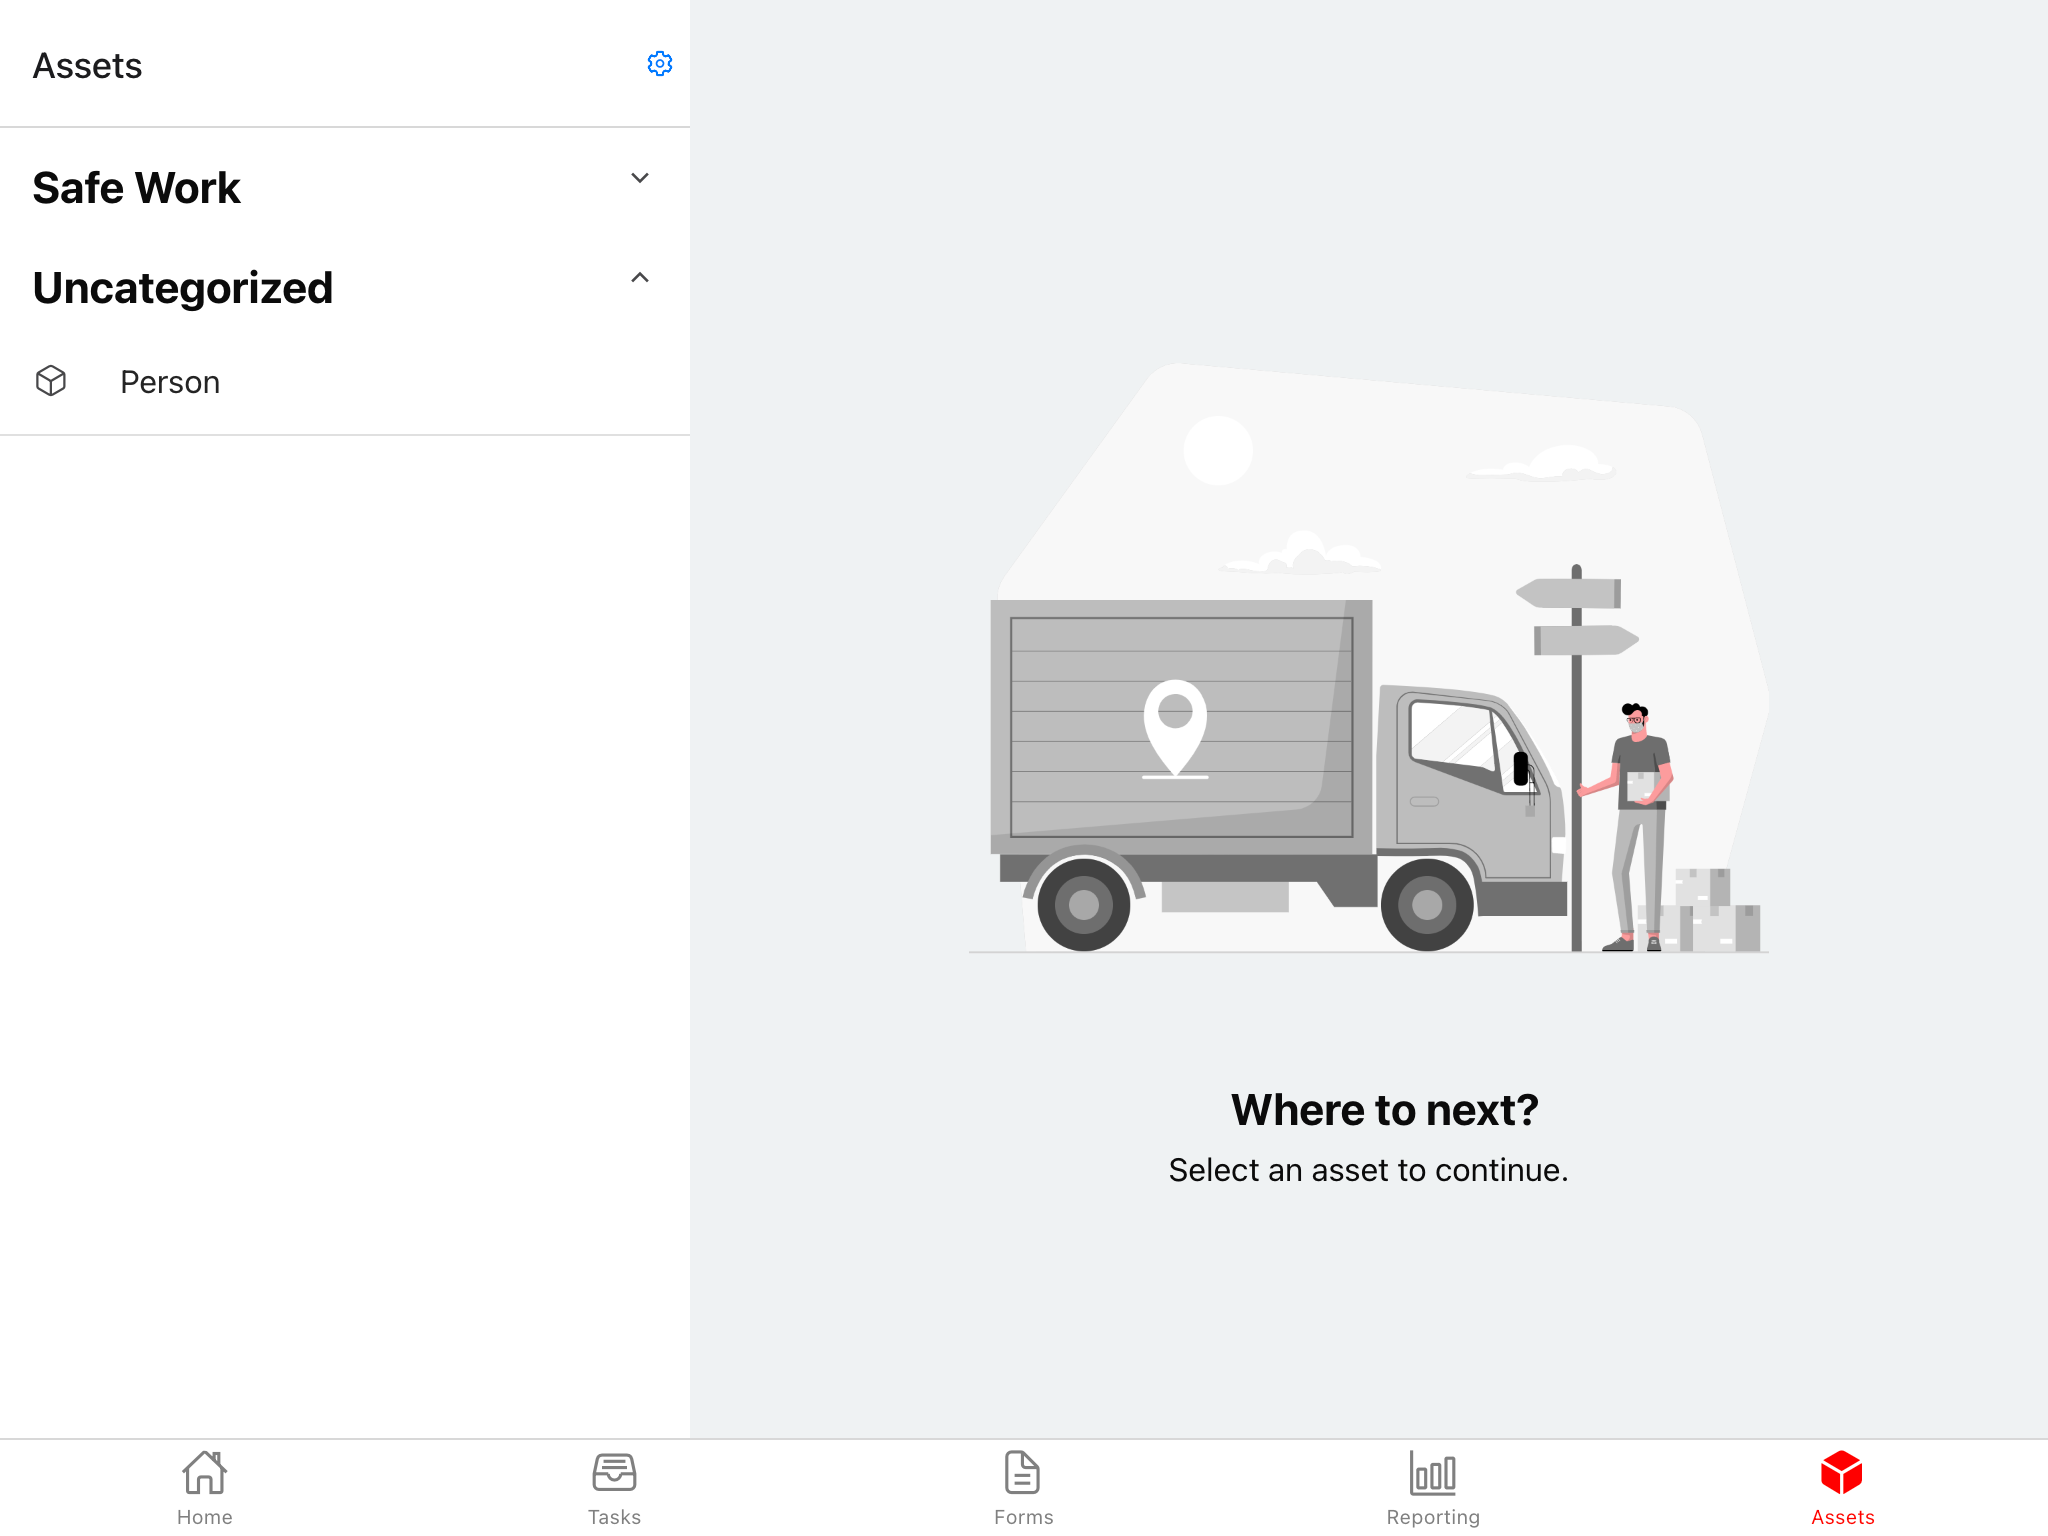
Once you're signed in, click the 'Assets' tab, and navigate to the 'Person' definition on the left. It will be under 'Uncategorized'.
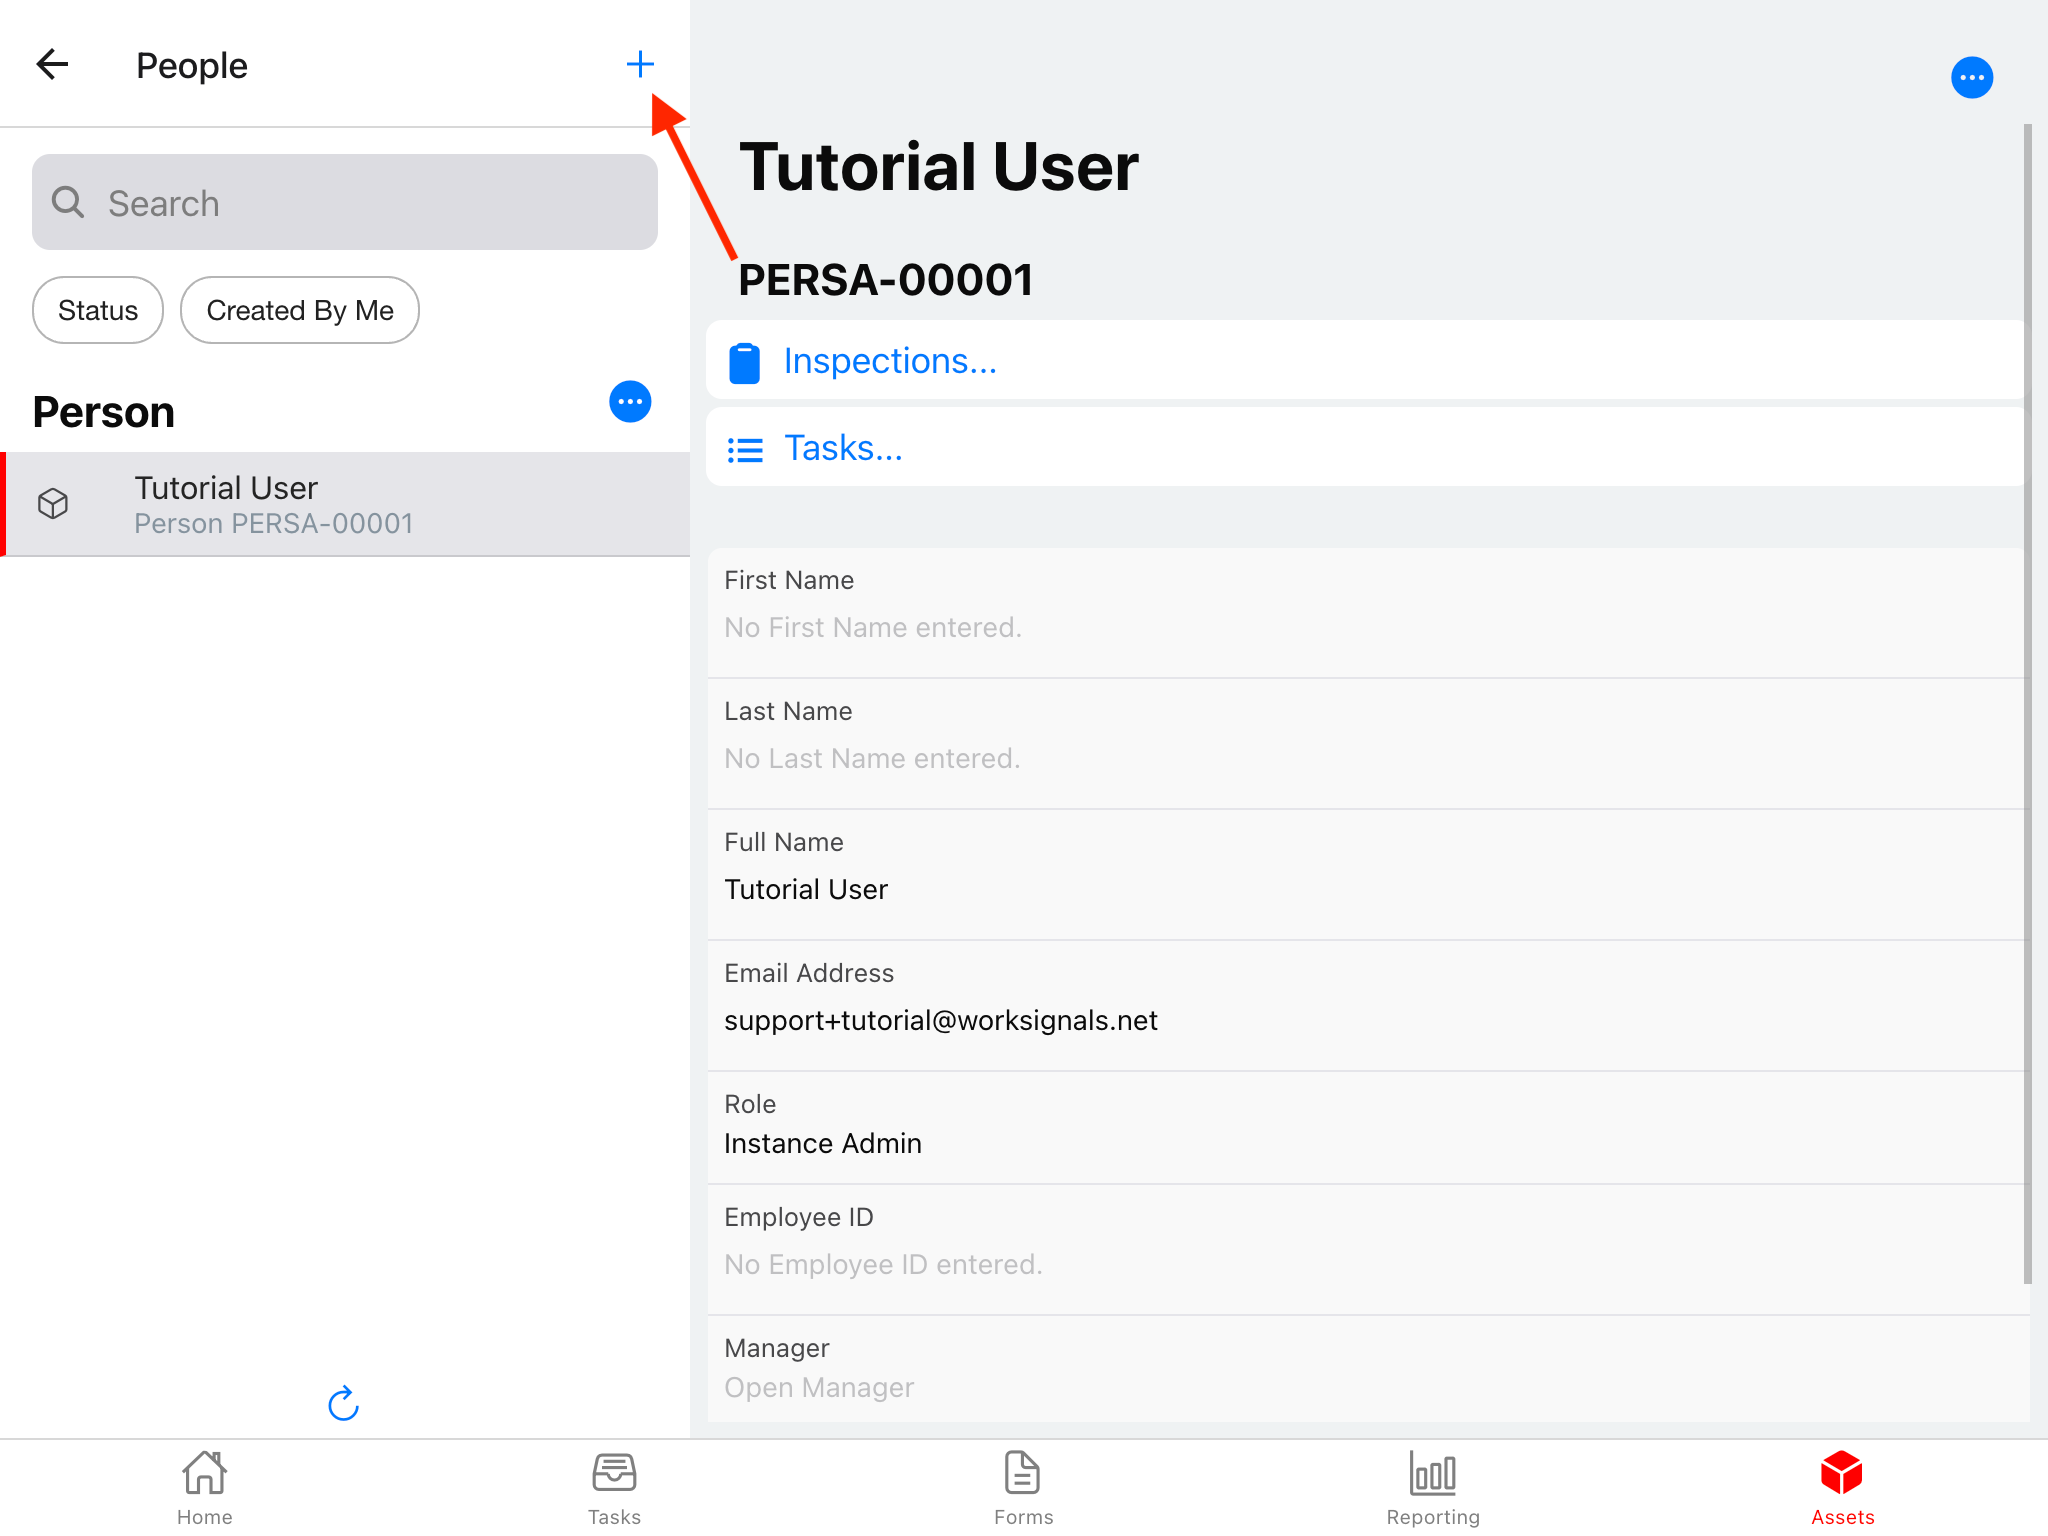
Each person created here has a login, so you'll see yourself in this list.
If you select a person on the left, you'll see their information on the right. This will be useful later - we can skip it for now.
Add a new person
For now, press the "PLUS" arrow beside the "People" header to add a new person.
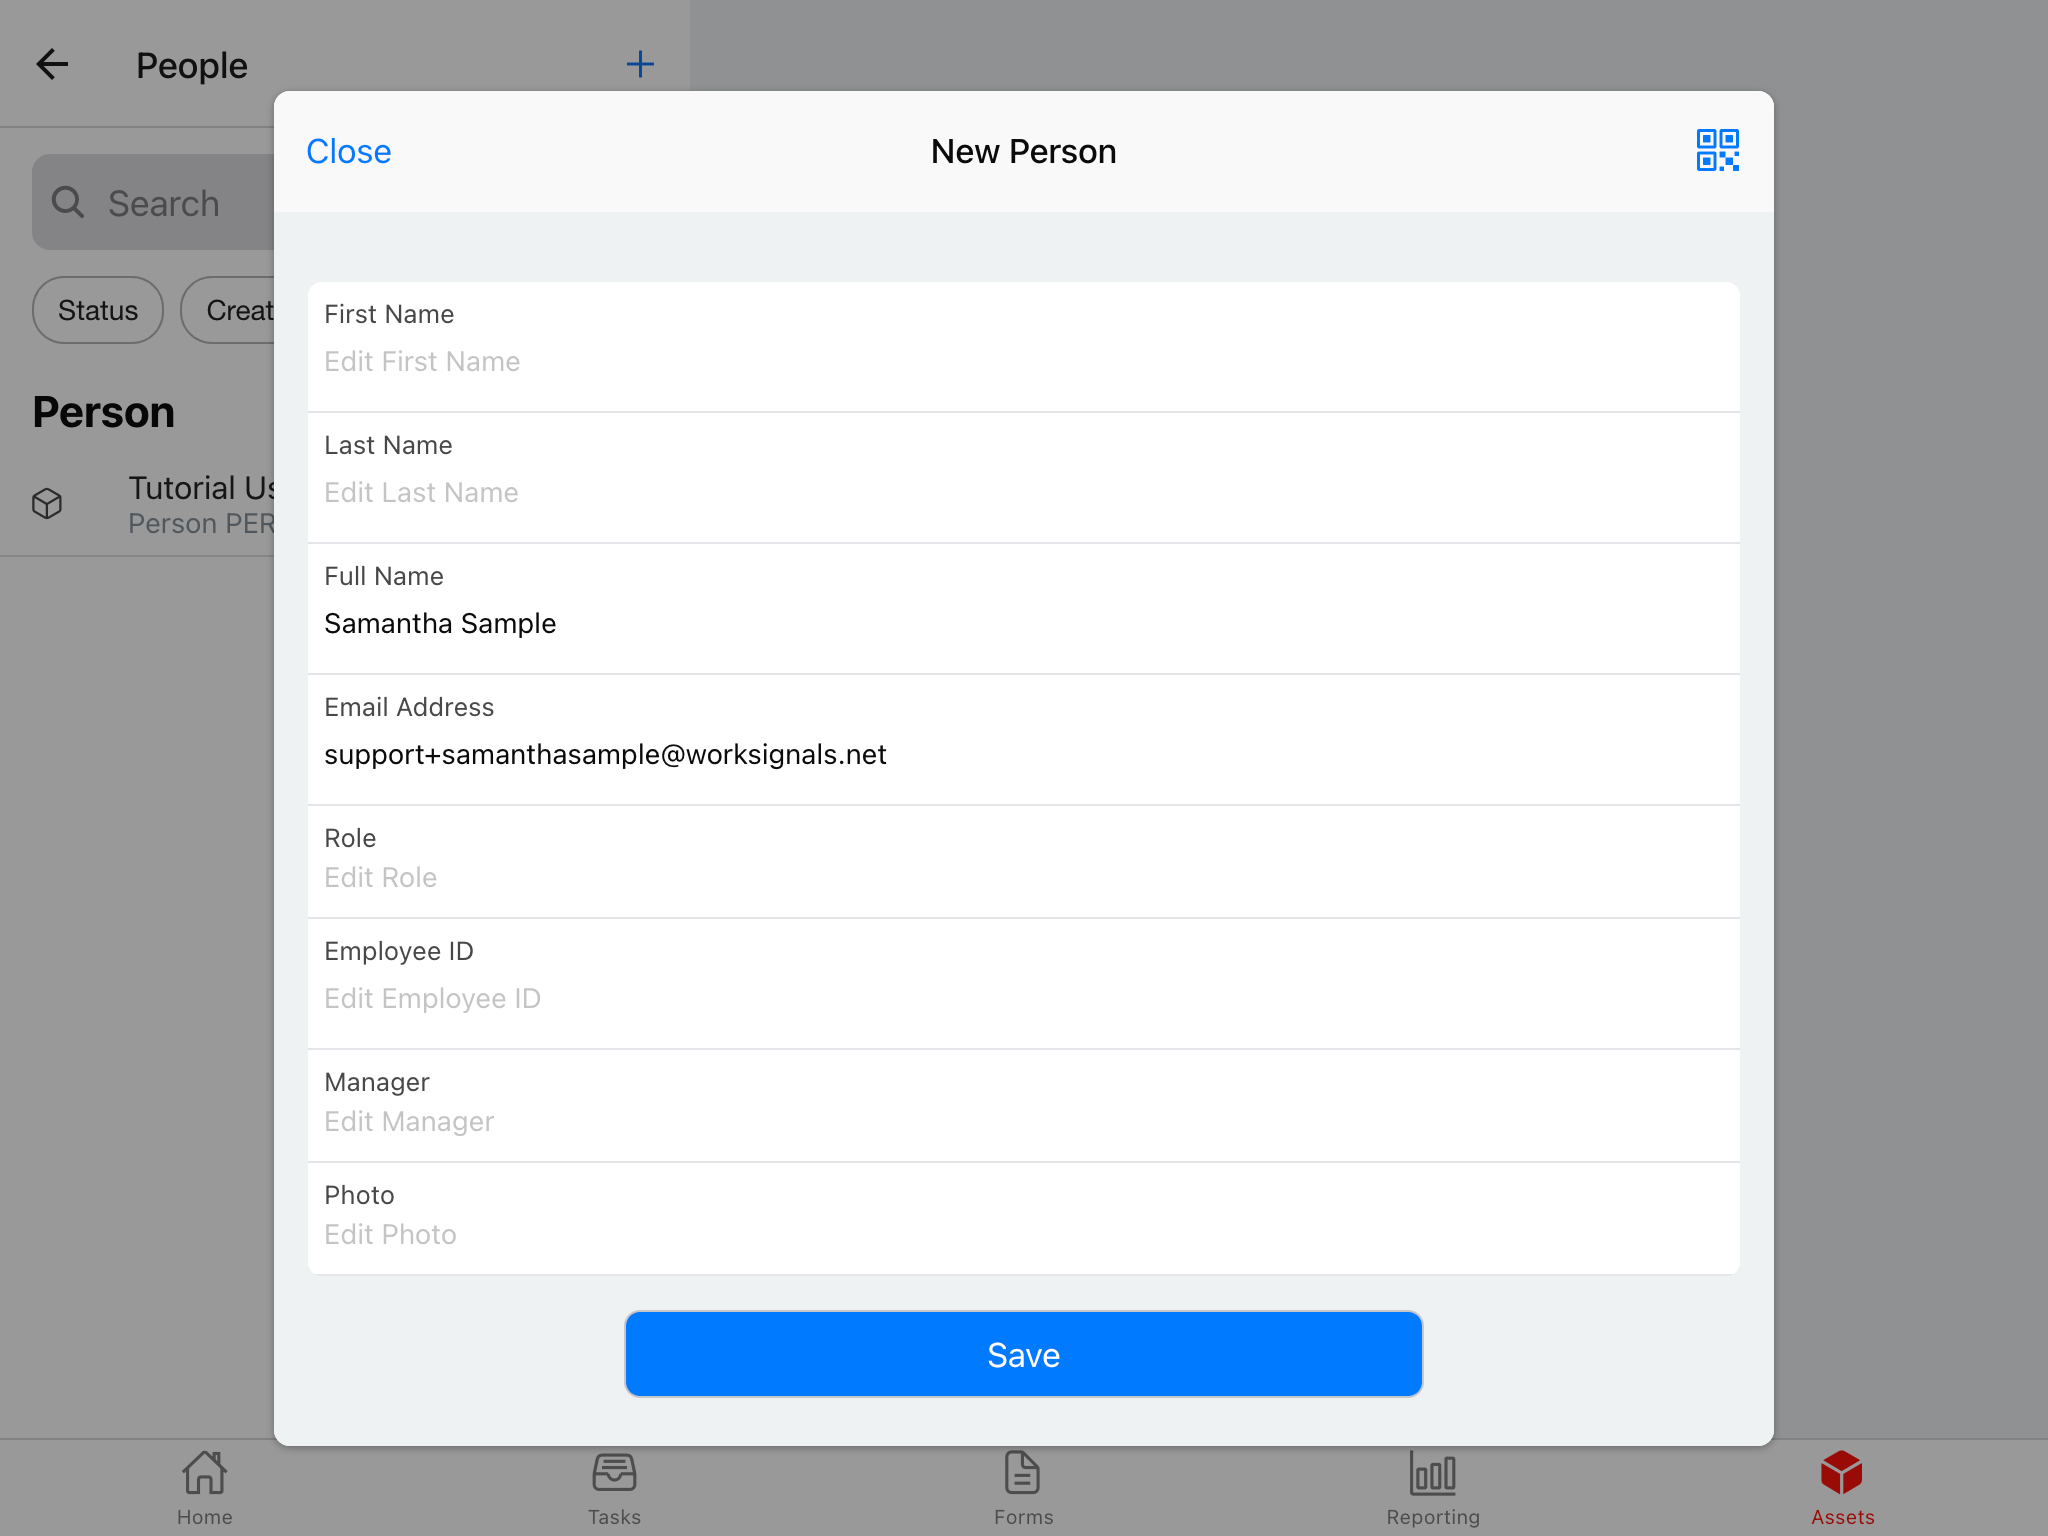
Add a Full Name and Email Address for the new person. You can fill out additional details or just save.
- Role
Instance Admins have full control over most parts of WorkSignals setup and configuration.
Instance Users are regular users of WorkSignals. This is the default role applied to users if no role is set.
You can read more about built-in roles in WorkSignals - User roles
- Manager
Certain areas of WorkSignals have 'manager visibility'. Assigning a manager to a person will allow the manager to see their open tasks & inspections, open and completed training items, and reporting features.
- Photo
By uploading a photo for a person, we can display a face to the name throughout the app. This can help for distributed teams.
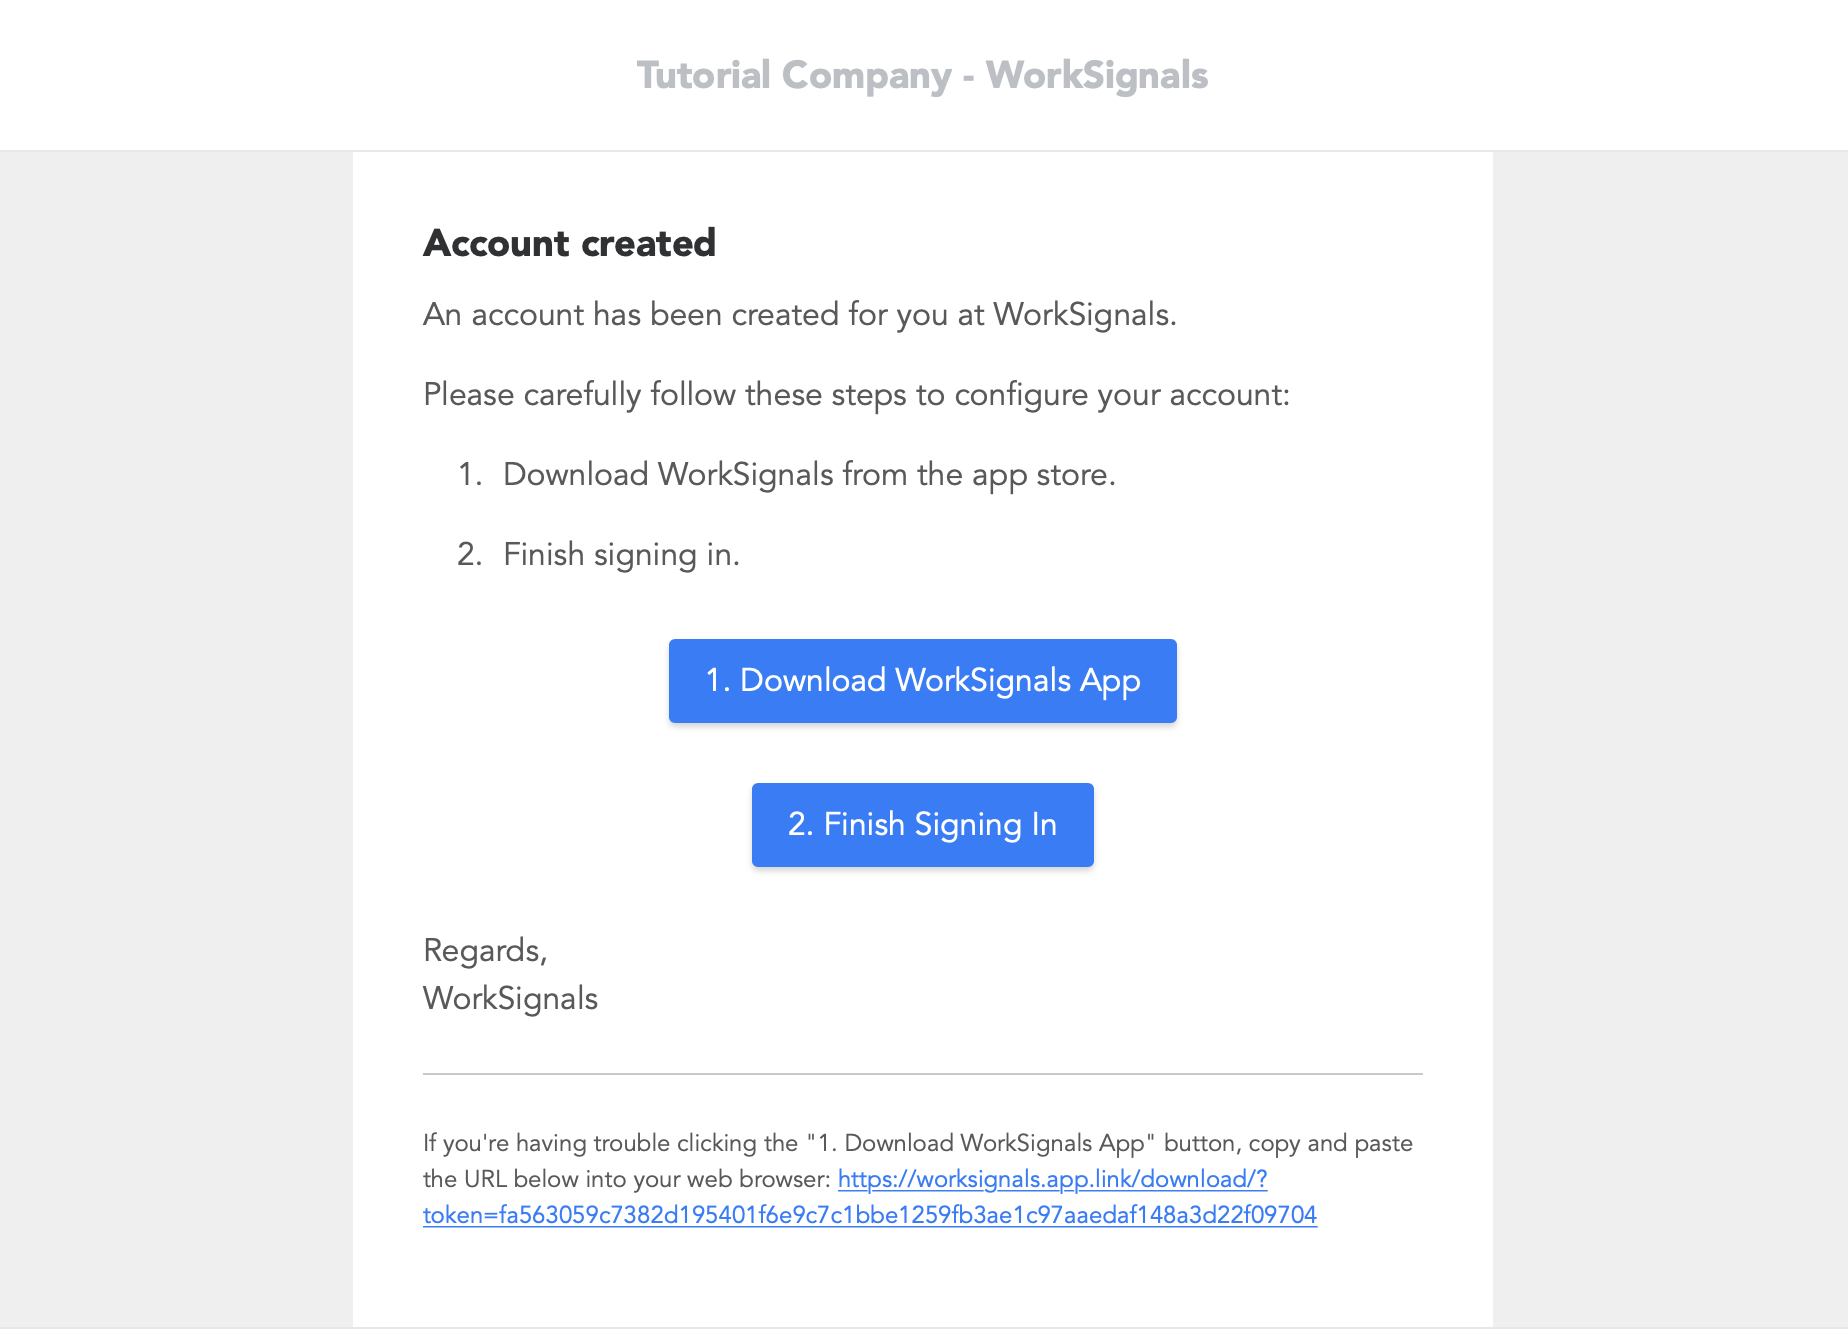
When complete, press 'Save'. This will save the person, create a new user login, and send the new user a welcome email.
You can press the "PLUS" arrow as many times as you need and continue adding people.
To batch import people, have a read of Batch importing users
